Waring
- This chapter requires basic knowledge of Unity / VRChat avatar creation.
- If you encounter difficulties, seek assistance from others.
Add Prefab
Download the model prefab here: HapticModule.unitypackage
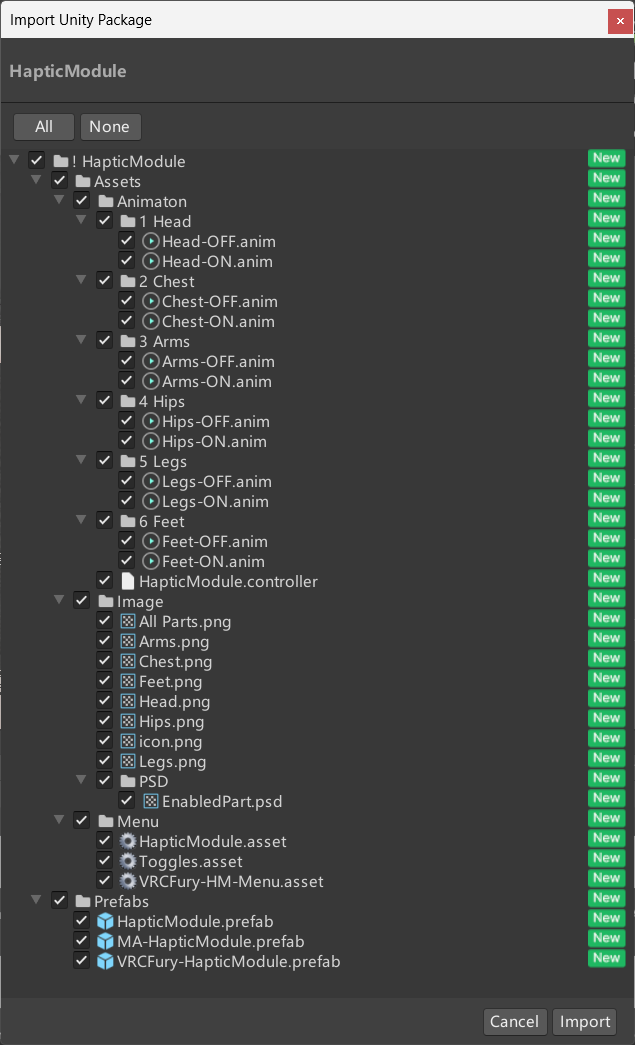
This prefab contains all usable model components. You may install it yourself.
Or use the automated installation prefabs included in the package:
- Modular Avatar: MA-HapticModule
- VRCFury: VRCFury-HapticModule
Navigate to Assets/! HapticModule/Prefabs and drag the appropriate prefab into your avatar’s root object:
 |
|---|
| Feature | HapticModule | MA-HapticModule | VRCFury-HapticModule |
|---|---|---|---|
| Parameters | All | All | All |
| Menu Items | Manual Install | Included | Included |
| Full Auto-Install | × | √ | √ |
Adjust Contact Receiver
Expand the prefab to see a hierarchy organized by body part names, for example:
▼ MA-HapticModule
┣━ ▼ [Head]
┃  ┗━ [Head]-Contact-Receiver
┣━ ▼ [Chest]
┊  ┗━ [Chest]-Contact-Receiver
......
Do not adjust the
[BodyPart]objects when positioning Contact Receiver!Select the
[BodyPart]-Contact-Receiverobject to:- Translate:
Transform>Position - Rotate:
1.Transform>Rosition
2.VRC Contact Receiver>Shape>Rotation - Resize:
1.VRC Contact Receiver>Shape>Radius
2.VRC Contact Receiver>Shape>Height
- Translate:
To configure triggerable body parts, edit the
Collision Tagsvalue in theVRC Contact Receivercomponent on the[BodyPart]-Contact-Receiverobject.Default tags
HandandFootare preconfigured, covering most use cases.
Install HapticHub
Download the latest HapticHub here: Google Drive
After extraction, you’ll find a folder named win-unpacked containing all HapticHub assets.
Rename win-unpacked to HapticHub and move it to a simple English-script path you can remember.
Tip
Right-click haptics-hub.exe → Copy as path → Paste shortcut to desktop for easy access.