Fix Joysticks
This guide provides steps to resolve joystick malfunctions on the HIG Glove.
Tools Required
Danger
Before disassembly, ensure:
- ⚠️ HIG Glove Is Powered Off ⚠️
- You have fully discharged static electricity from your body
- You have a compartmentalized container for screw storage
- Your workspace is clean and free of visual distractions
For Controller Module
- PH 000 Screwdriver
- Precision Tweezers
For Data Box
- H 1.3 Screwdriver
- PH 00 Screwdriver
- Precision Tweezers
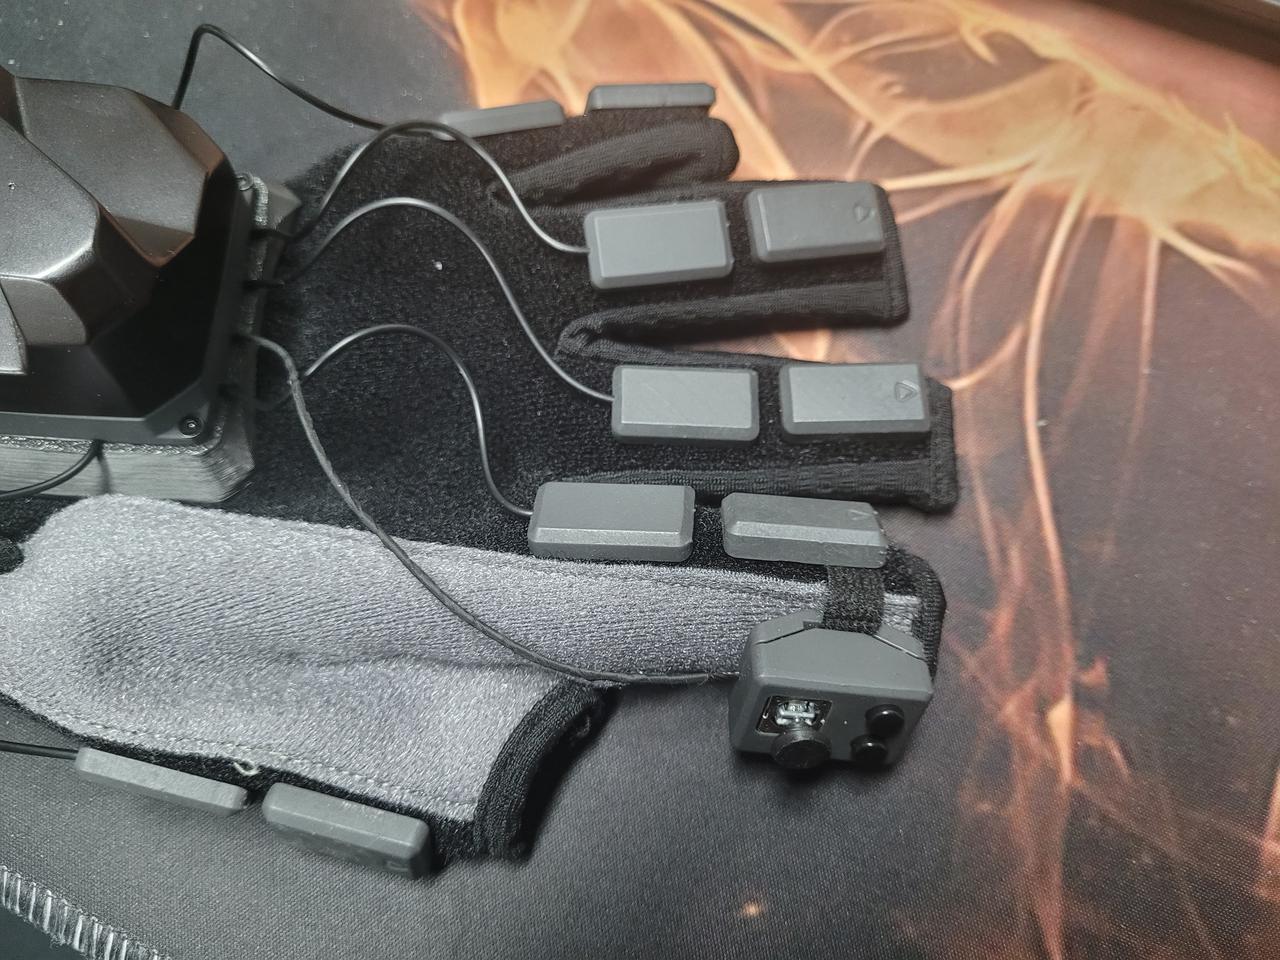
A. Checking the Controller Module
Step 1
- Remove the Controller Module and the affected Magnet Module
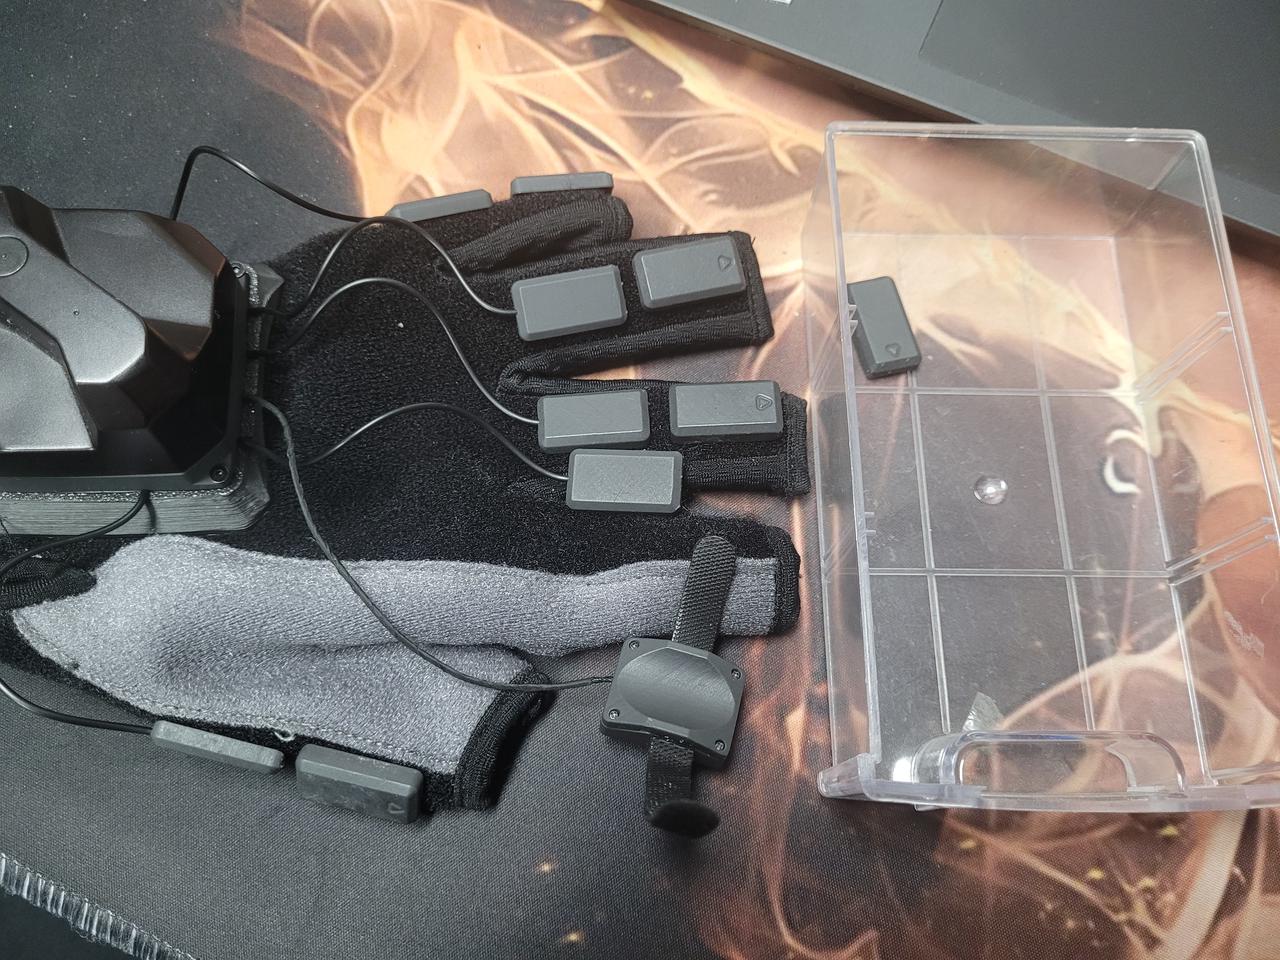
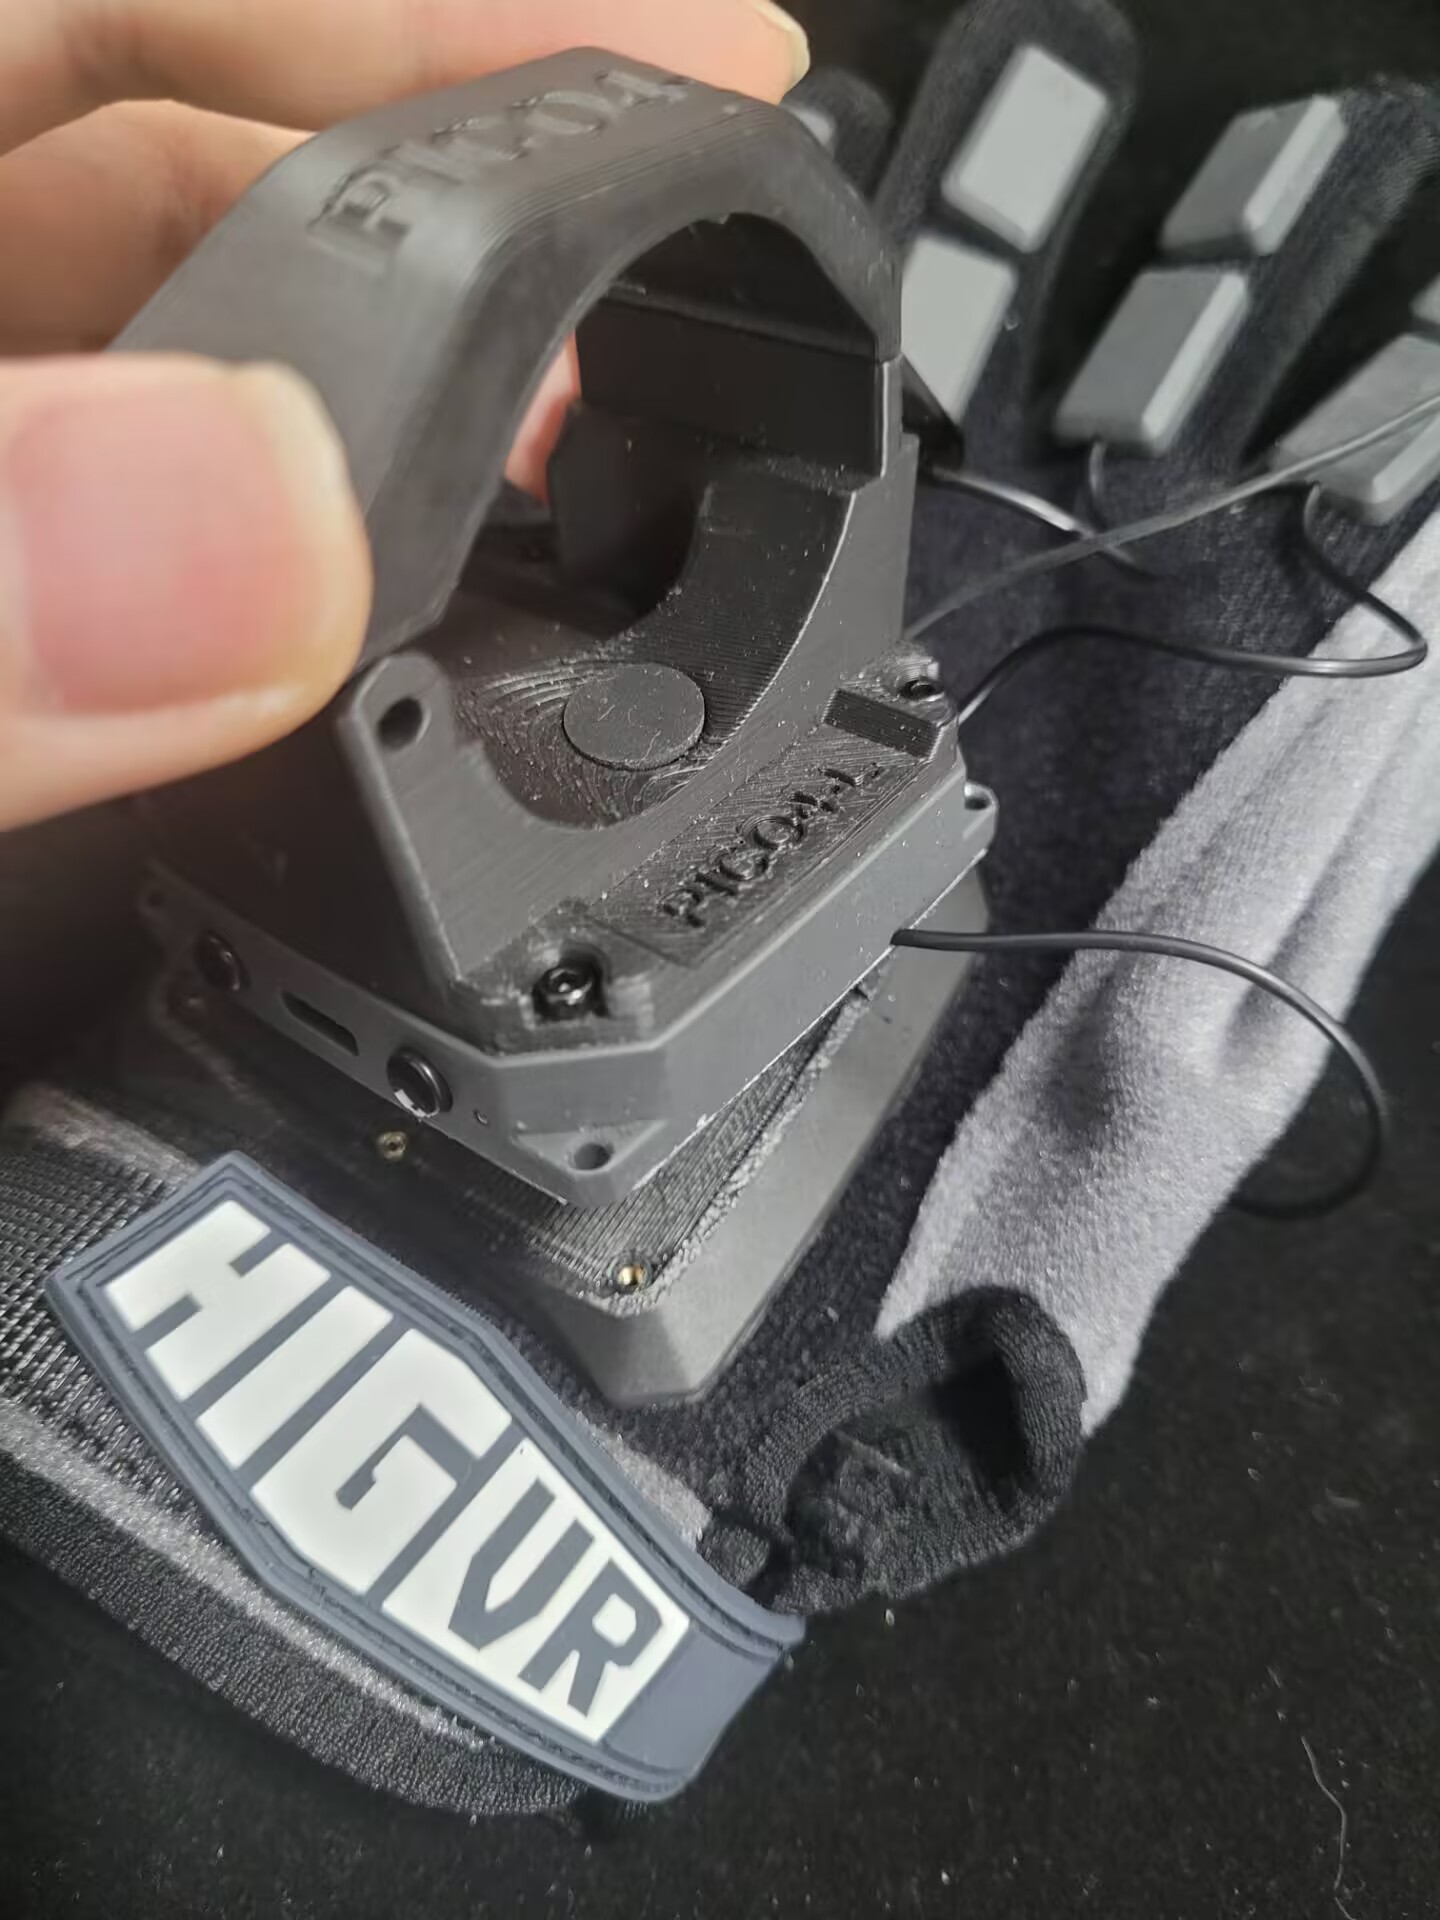
Step 2
- Turn the Controller Module to access its back
- Remove the backplate and straps using a PH 000 screwdriver
- Store screws securely
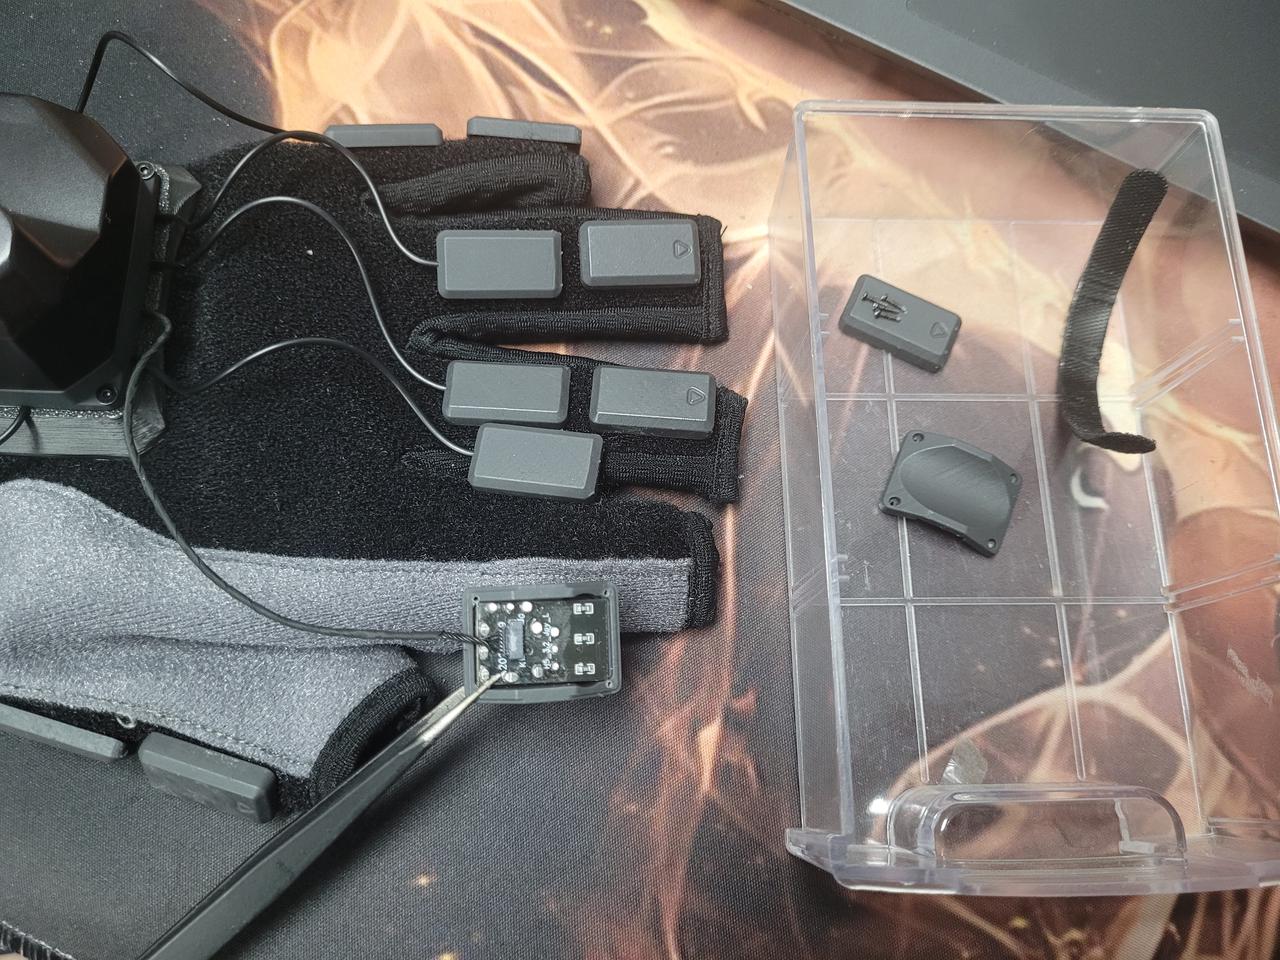
Step 3
- Use tweezers to inspect PCB cable interfaces for looseness or disconnection
- If disconnected: Reinsert the cable with correct orientation:
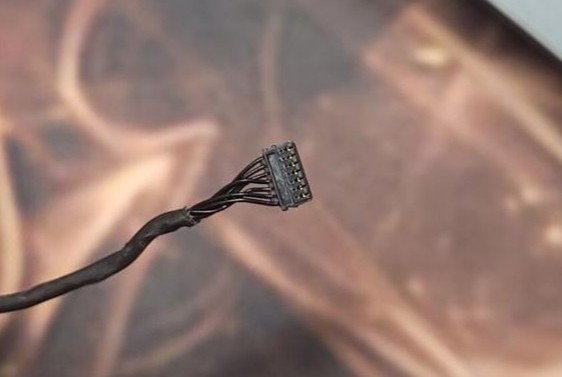 ↑ Up ↑ Up | 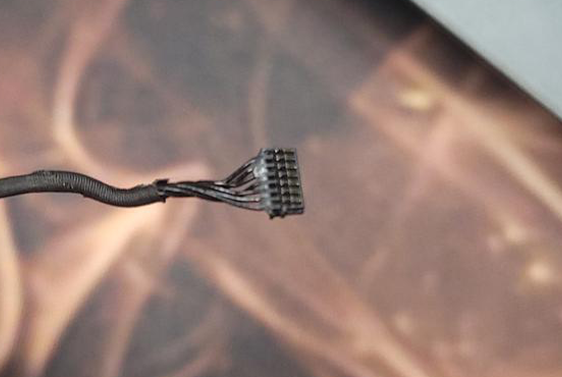 ↓ Back ↓ Back |
|---|---|
 Before Before | 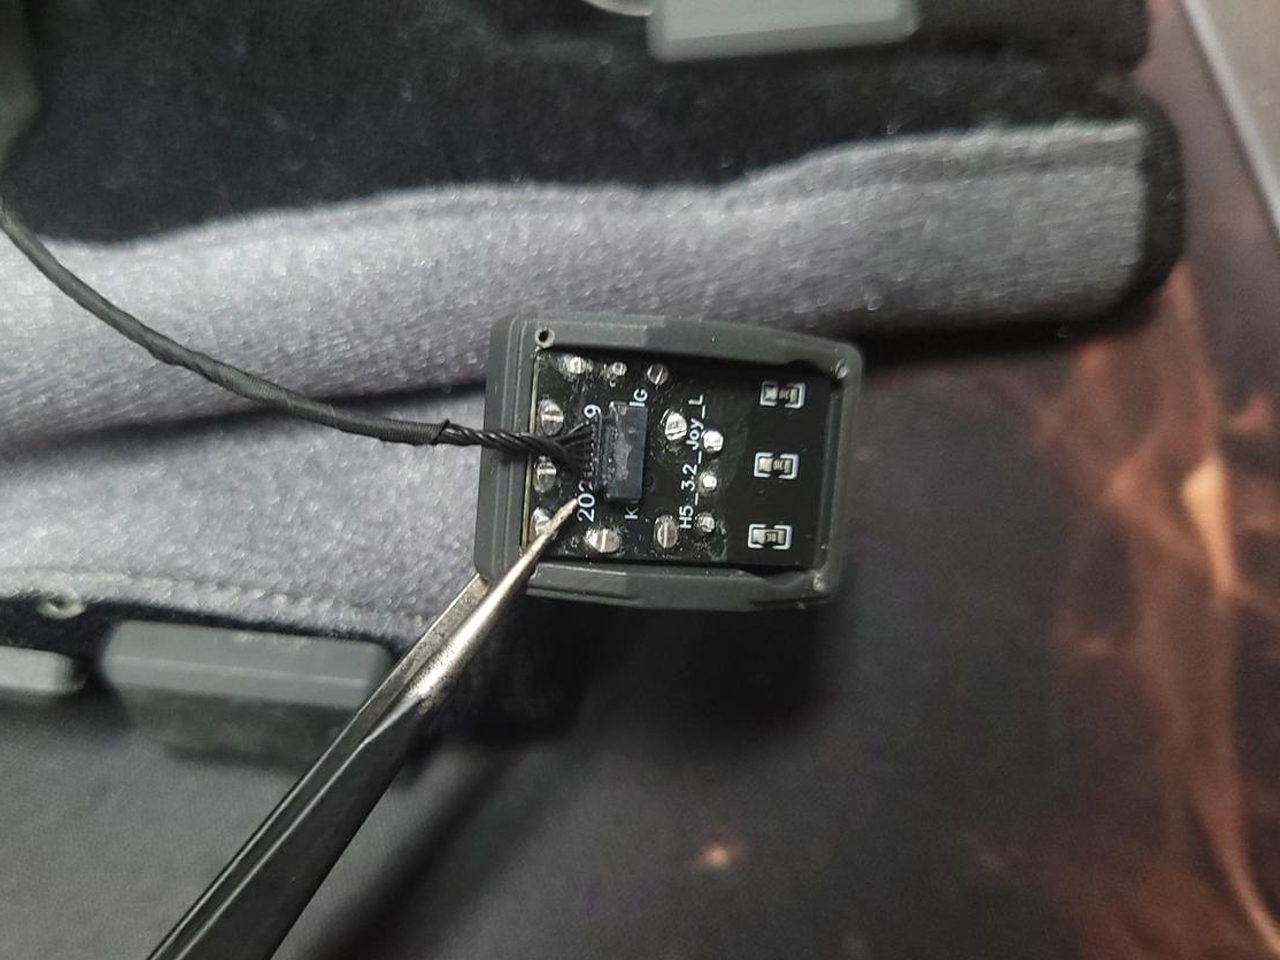 After After |
Step 4
- Reassemble all parts and screws
- Power on the HIG Glove
- Use HIG GloveNG to calibrate the joystick
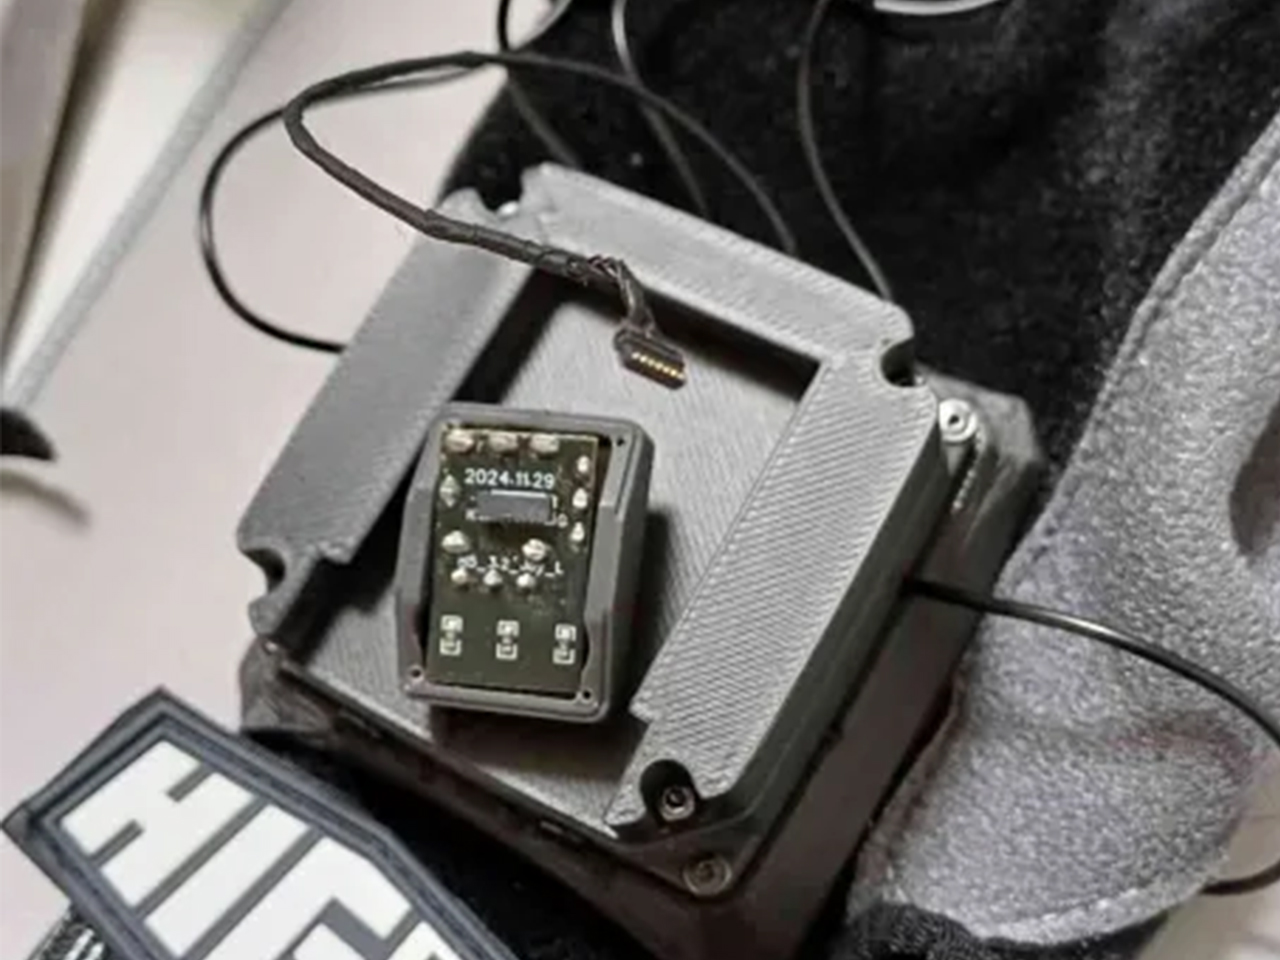
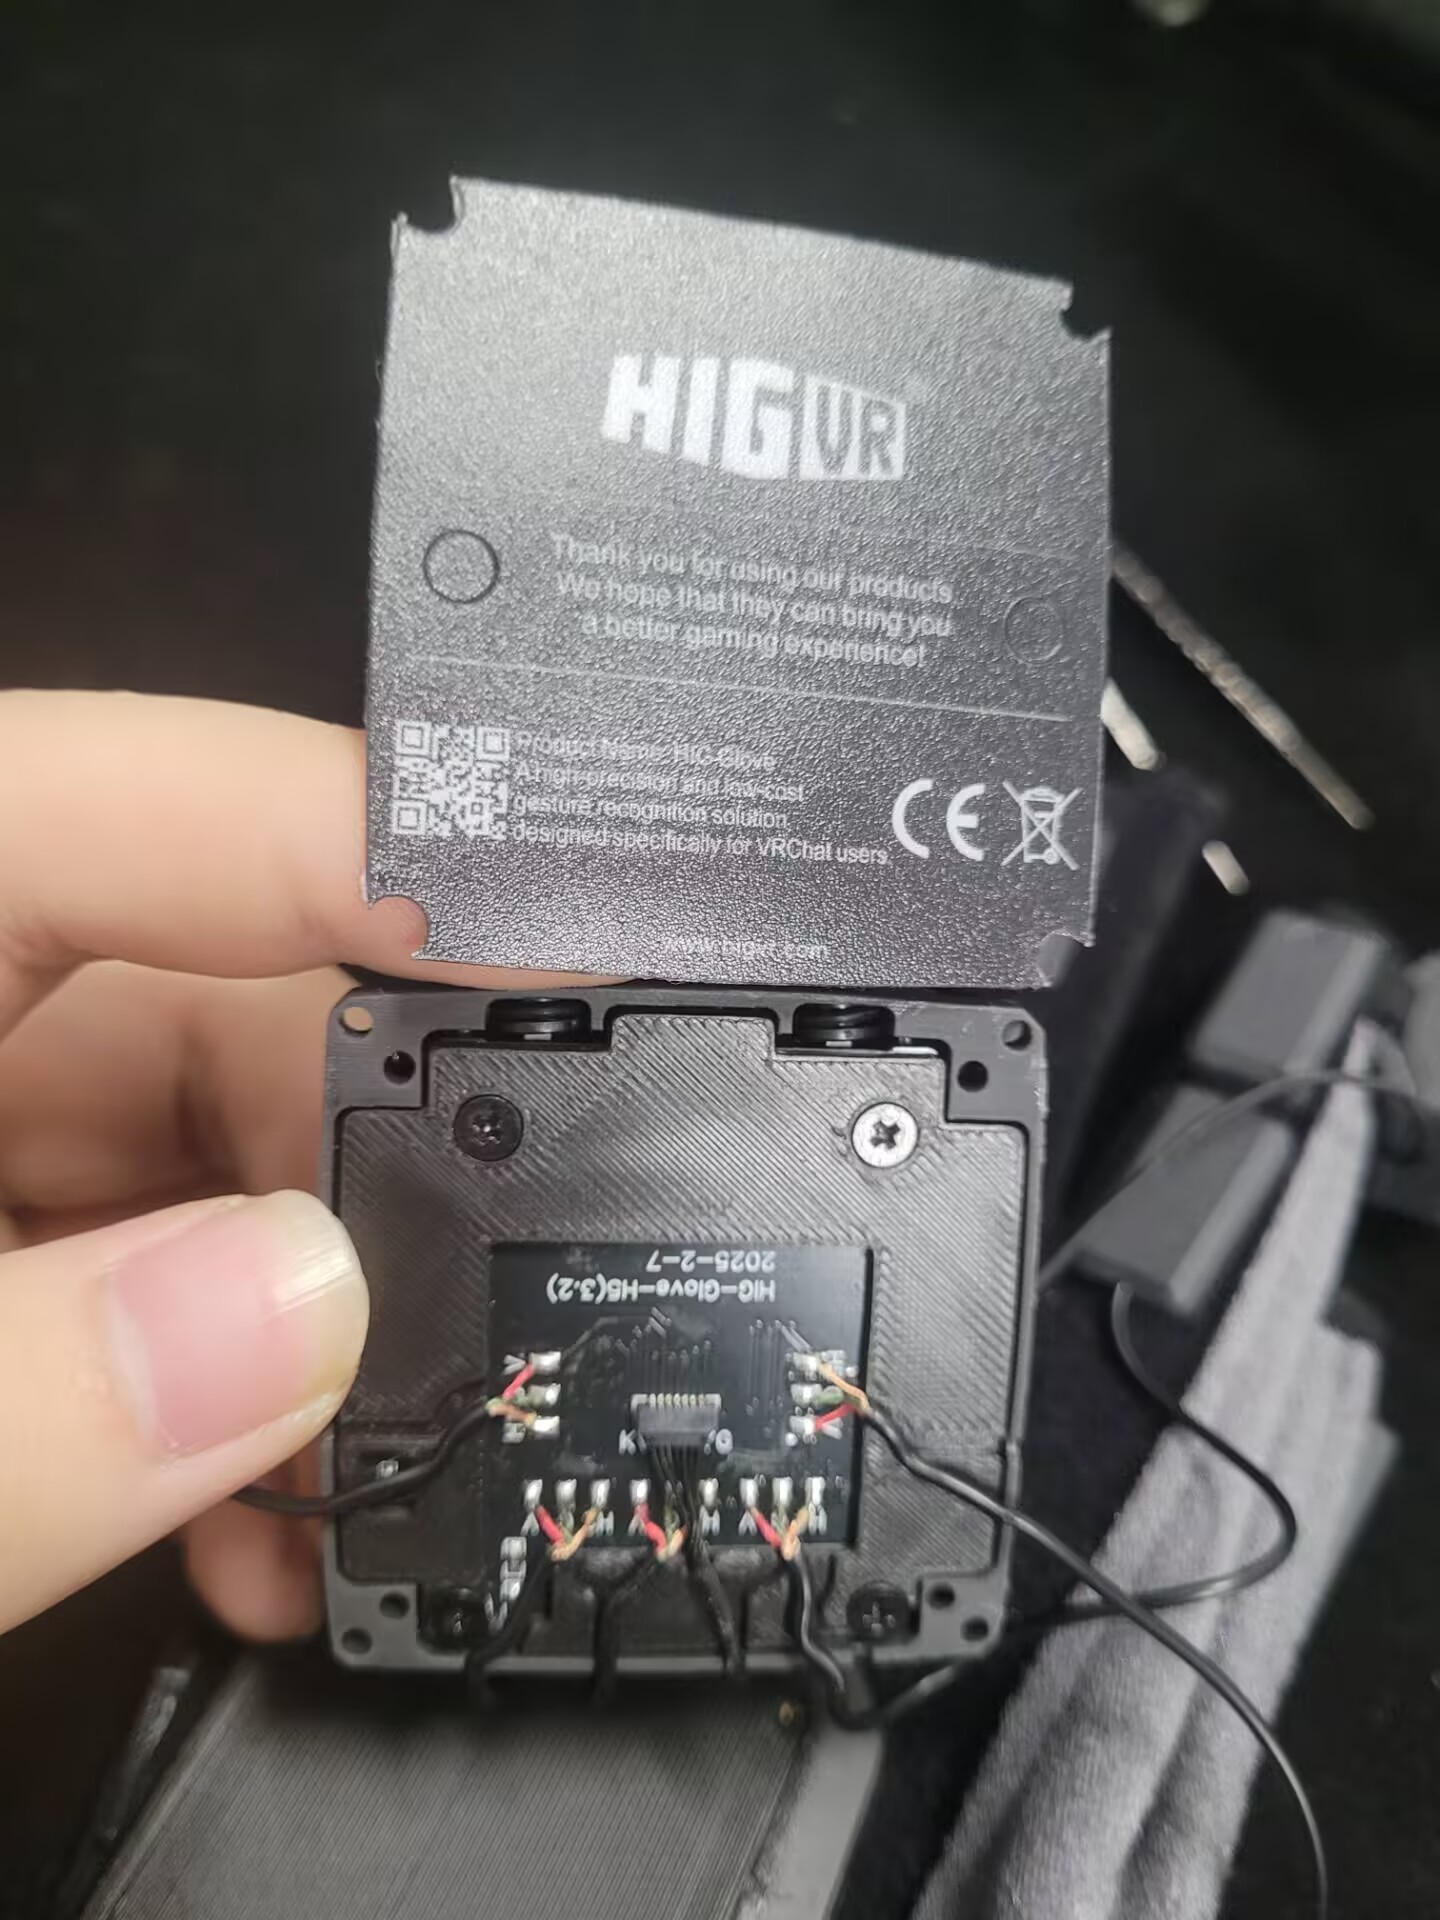
B. Checking the Data Box
Step 1
- Remove corner screws using PH 00 or H 1.3 screwdriver (version-dependent)
Step 2
- Open the Data Box casing
- Carefully peel off the product information sticker with tweezers to expose the PCB
Step 3
- Use tweezers to inspect PCB cable interfaces for looseness or disconnection
- If disconnected: Reinsert the cable with correct orientation:
| ↑ Up | ↓ Back |
|---|---|
 before before | 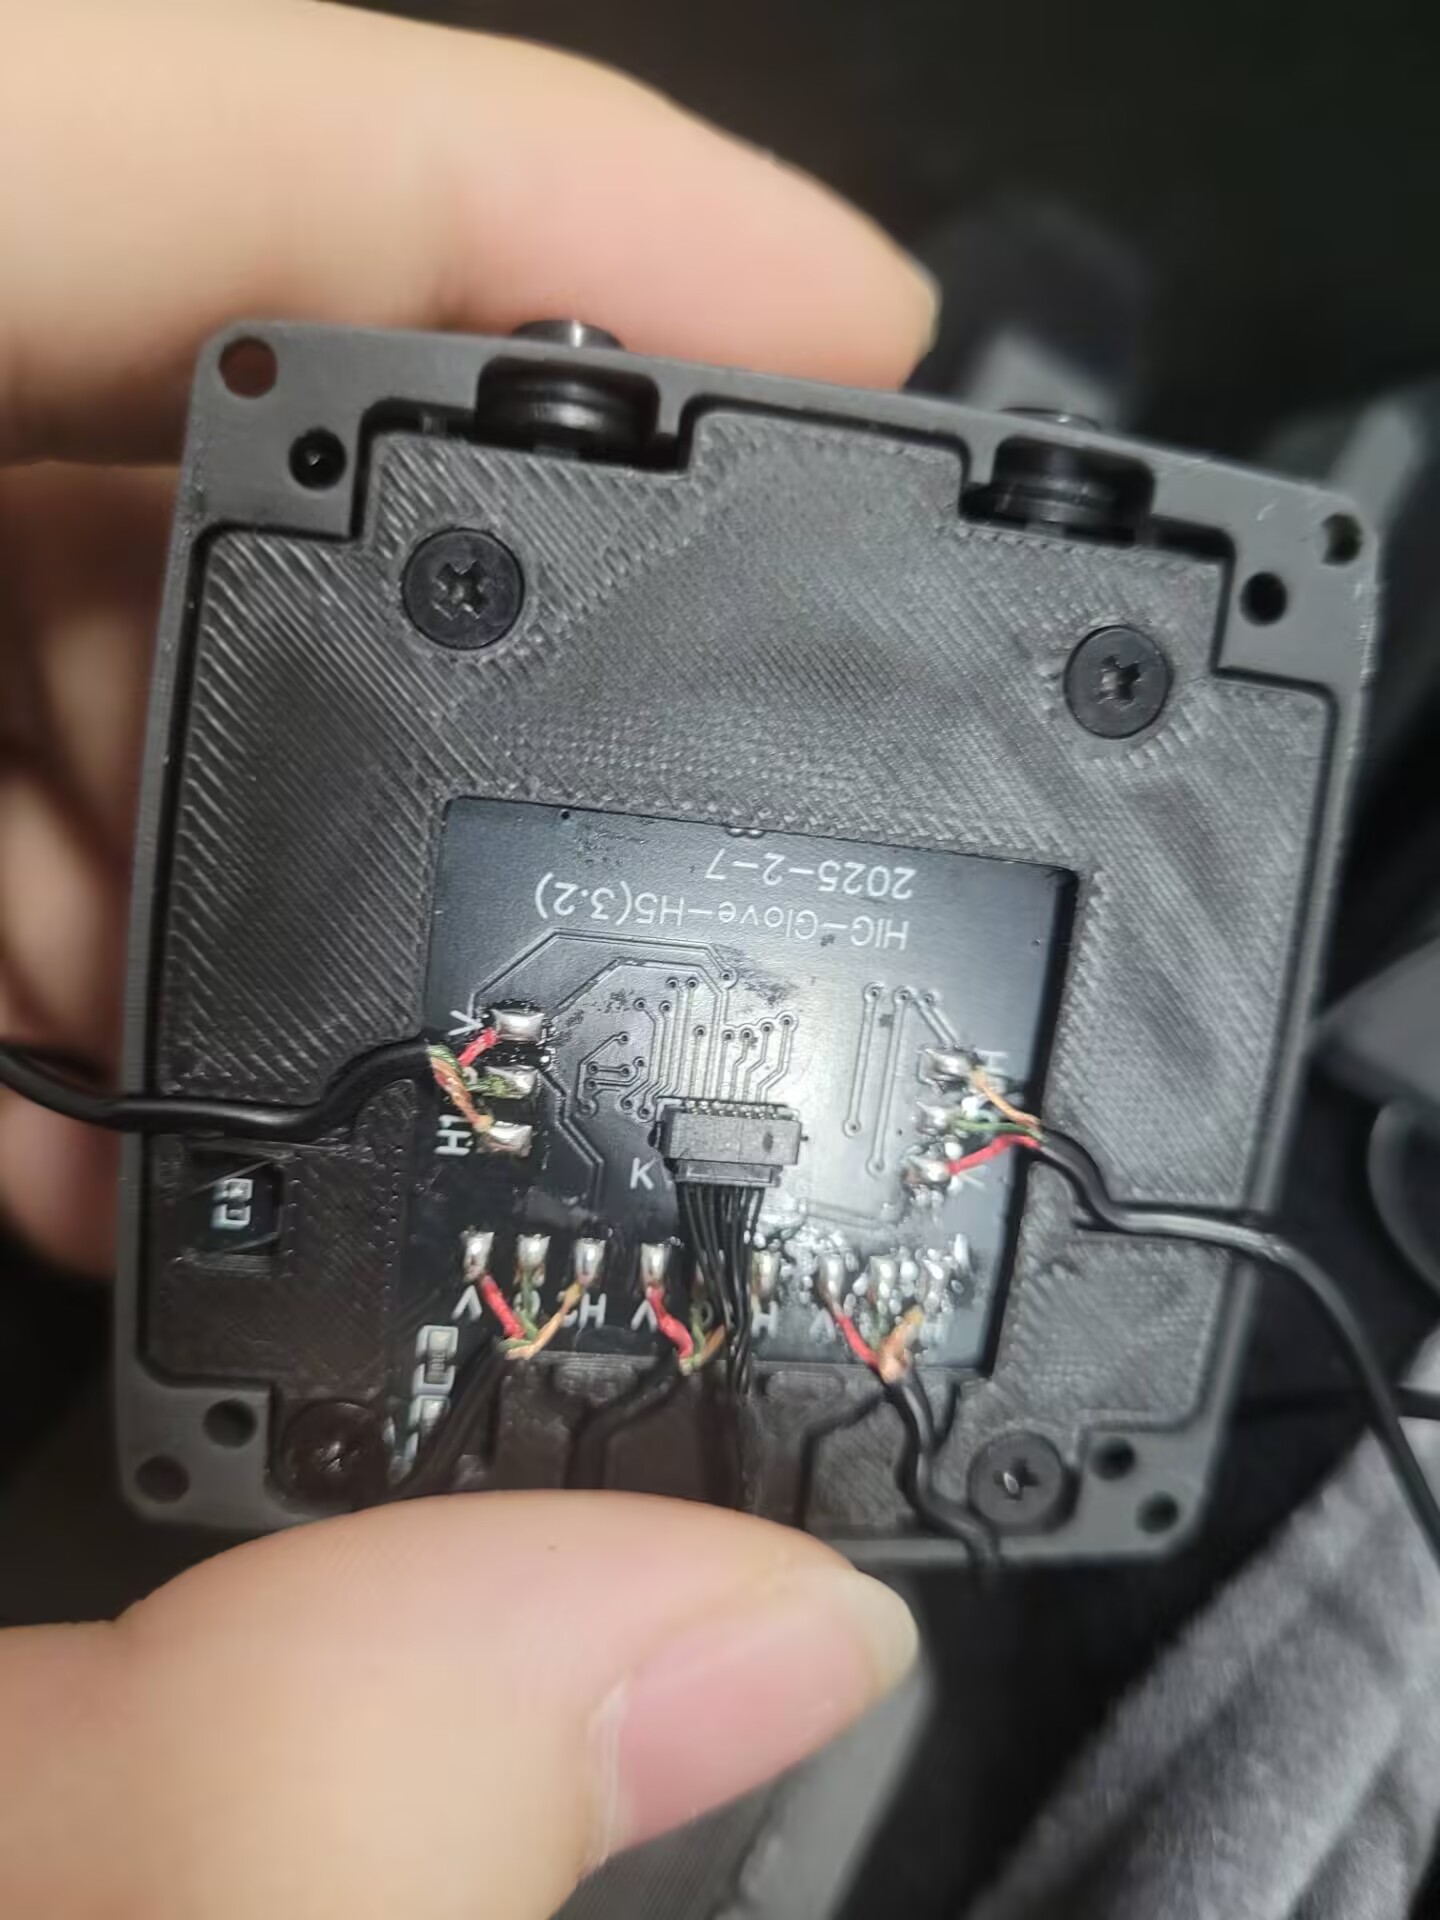 After After |
Step 4
- Reassemble all parts and screws
- Power on the HIG Glove
- Use HIG GloveNG to calibrate the joystick